Article Text

Statistics from Altmetric.com
The use of Implanon®/Nexplanon® has been growing in general practice and family planning clinics since its introduction in 1999. It is the most effective hormonal contraceptive available today, preventing 999 in 1000 pregnancies over its recommended period of use. I have been practising a technique for the removal for the past 8 years that I have found to be easier than the traditional one.
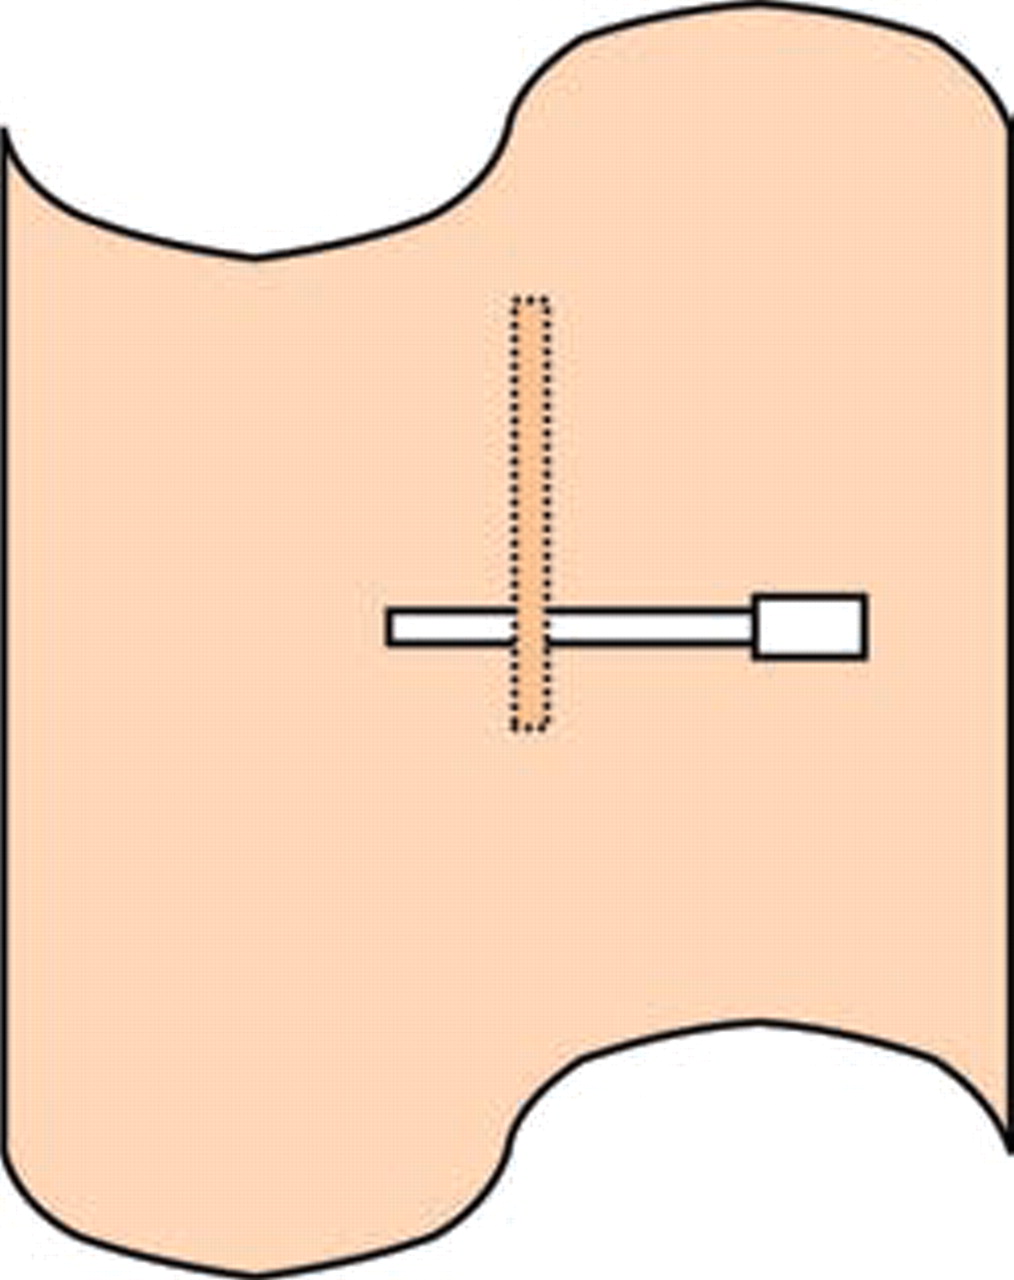
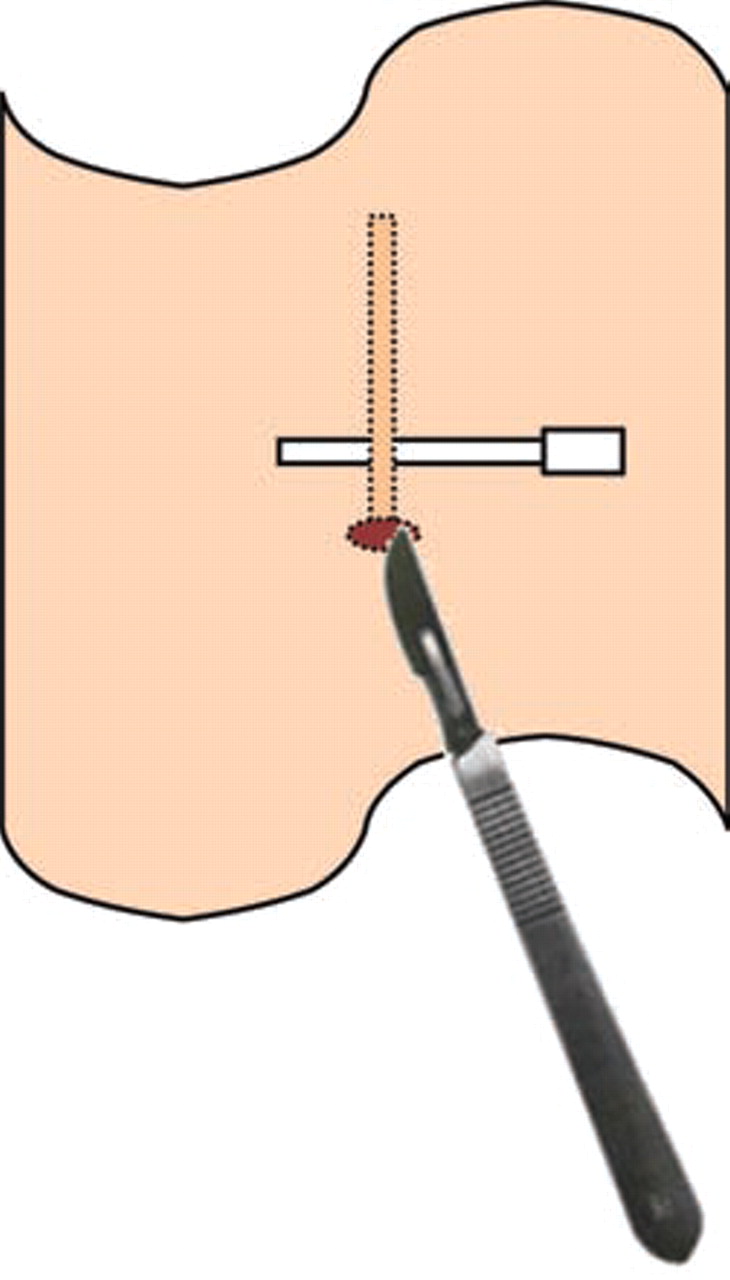
With this method an implant can be removed within a couple of minutes but occasionally can take a little longer. The first step is to feel the distal end of the implant with your fingers and insert a 25G blue needle under the implant approximately ¾ cm from the end to bring the needle to the other side as shown in Figure 1.I use 1 ml of 2% lidocaine to anaesthetise just below the tip. The next step is a deliberate incision through the dermis with a No 15 scalpel blade which should be at a 45° angle so that it goes just under the implant (Figure 2). Most of the time the implant is visible through the hole. Sometimes blunt dissection of the subcutaneous tissue may be required. At this time the implant appears through the incision when you push gently from the proximal end. The next step is to get hold of the implant with curved mosquito forceps and use a scalpel to release the fascia (Figure 3). The implant slides out easily. The incision wound is closed with a Steri-Strip™ and a bandage is applied on top to be removed the next day.

A needle is inserted under the implant approximately ¾ cm from the end to bring the needle to the other side.

An incision is made through the dermis with a scalpel blade at a 45° angle so that it goes just underneath the implant.

The implant is held with curved mosquito forceps and a scalpel is used to release the fascia.
Footnotes
-
Competing interests None.